Windows Driver and Tools Setup Instructions
This article will give a quick walkthrough of how to install the driver for the Occam Omni 60 camera, and how to install the Occam Indigo software on your PC. The instructions below are for Windows 8, but they’re virtually identical for Windows 7. Some of the screens will be slightly different.
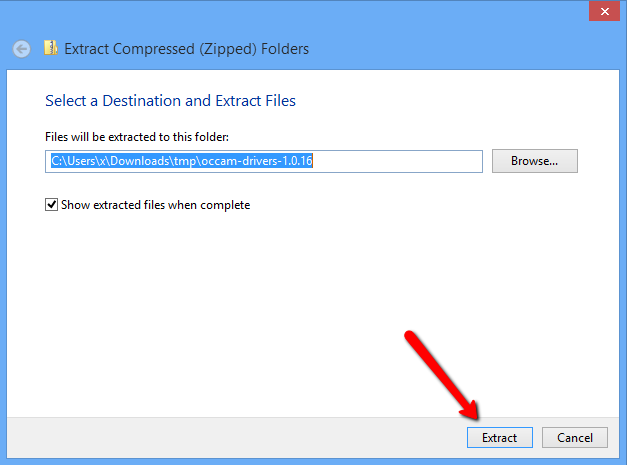
First things first, go download both the Windows Drivers and Indigo Tools and SDK from the Windows Drivers and Tools Downloads page. The current driver package is a zip file that you will need to uncompress. This can be done using the built-in Windows zip tools, by right clicking and selecting “Extract All” from the menu.

Click “Extract” to put the files into a new subdirectory from where you downloaded them.
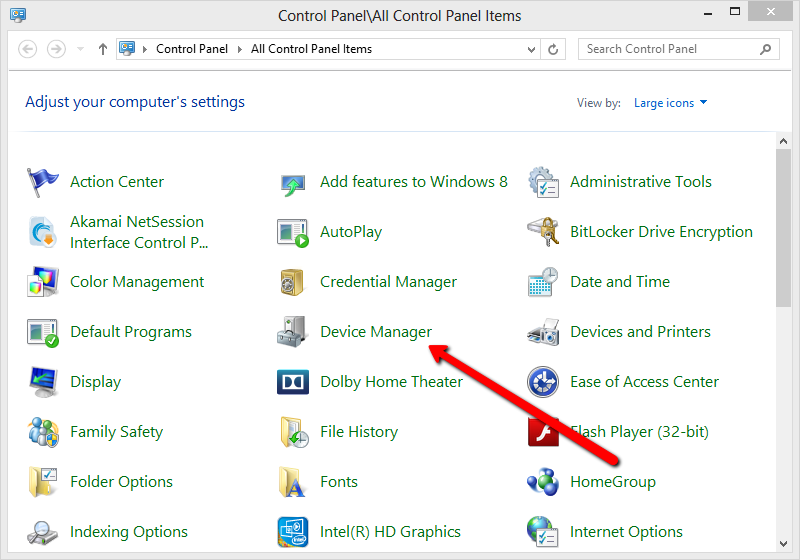
Now plug in the camera into a USB3 port on your computer and open the Device Manager.
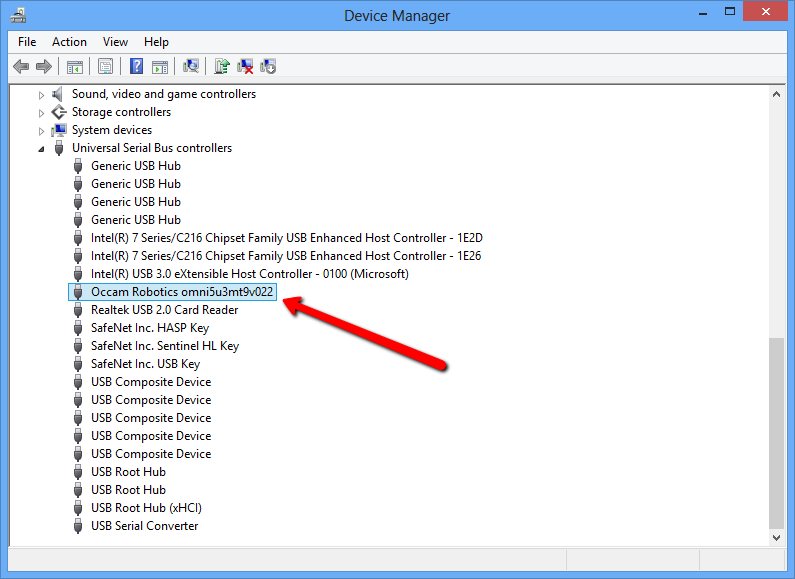
You should see a device representing the Omni 60. It should appear as “Occam Robotics omni5u3mt9v022″ or something similar.
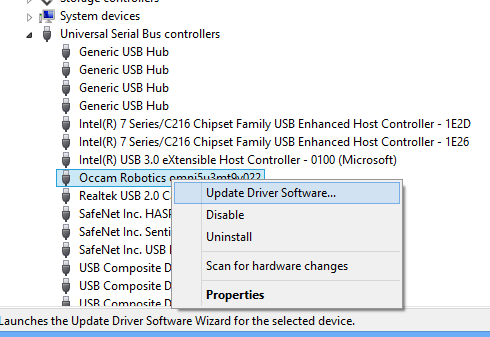
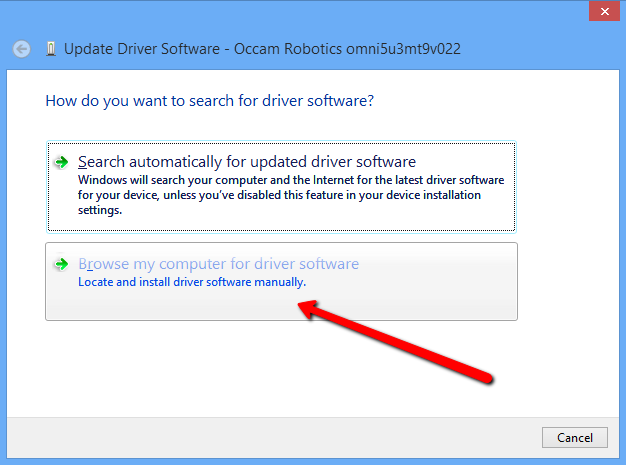
Right-click on the Omni camera device and select “Update Driver Software…”.
That will show a wizard asking you where the system can find the driver files. Go ahead and choose “Browse my computer for driver software” and then select the directory where you unzipped the files.

Click next several times and the driver should now be installed.
Now double-click on the installer for the Indigo Tools and SDK. That will launch the installation wizard:
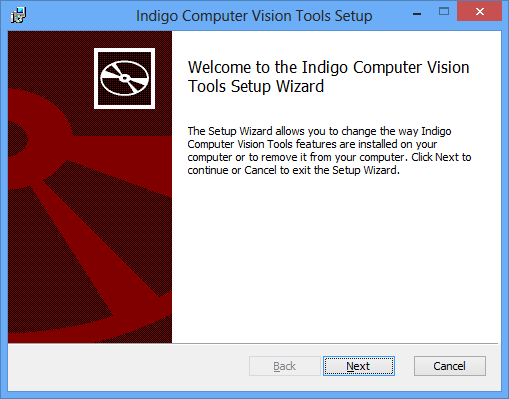
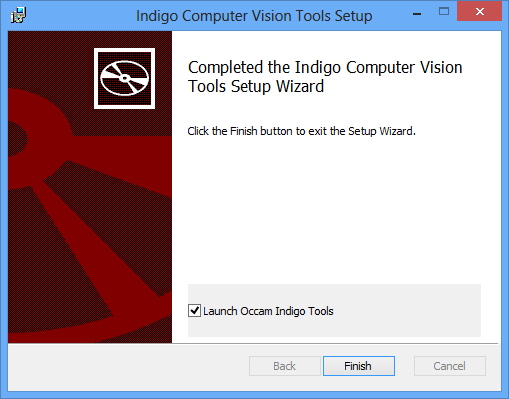
Click next through all the screens to leave the installation directory and other options at their default. On the last screen of the wizard it will ask you whether you want to open the Indigo Tools software now. Leave that checked and click to close the wizard.
The tools should open and show a screen with the camera video output.
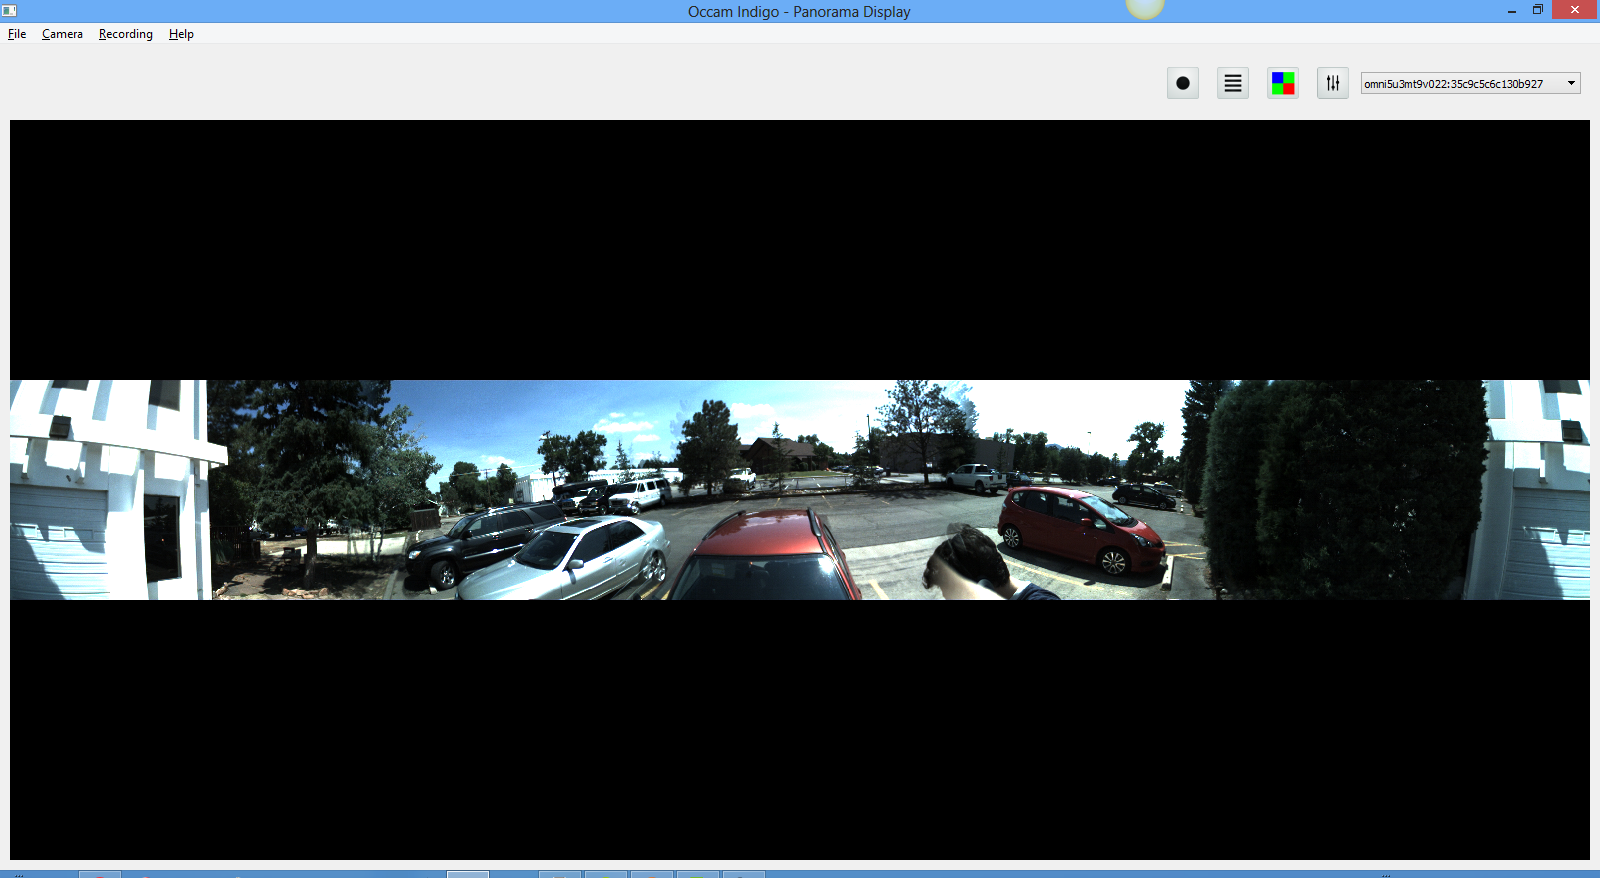
That’s it!